Teamspeak 2
Before Starting:
- Download the Teamspeak Server standalone.
- Install it to the default directory.
- If using a router, unblock port 8767. See screenshot to right.
Getting Started:
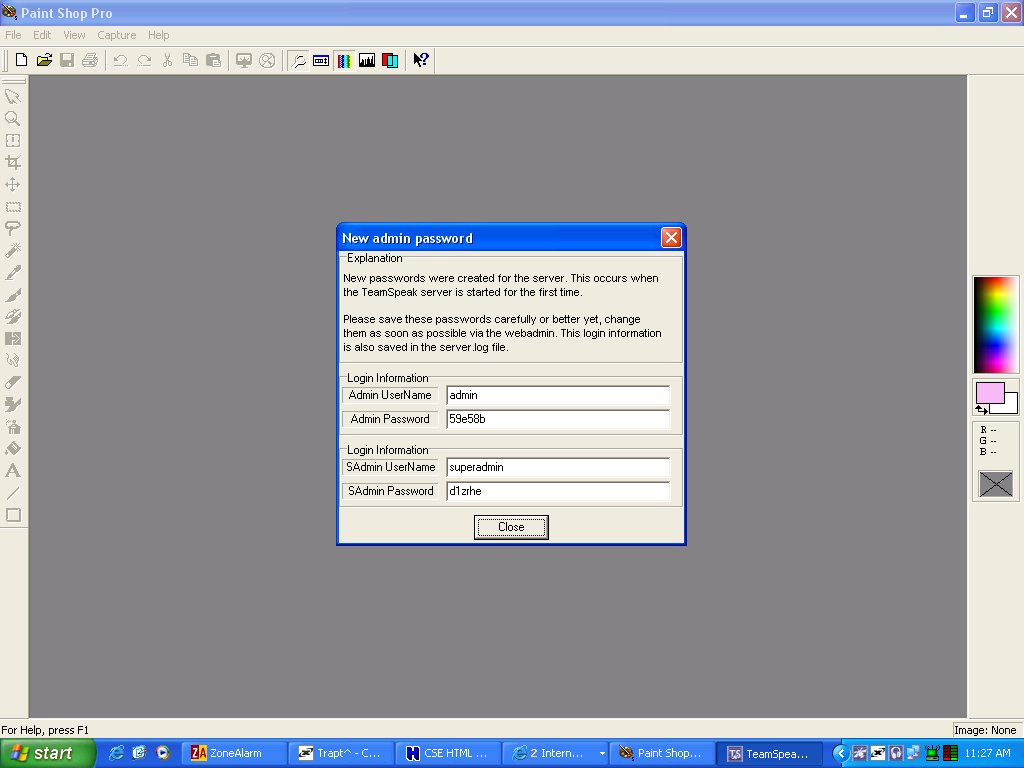
After installing Teamspeak2 Server, go to your desktop, and double click on the new Teamspeak2 Server shortcut. A window should pop with your temporary login and password. Make sure you write these down, or you will not be able to use the Teamspeak 2 Server. The most important login is the superadmin account, so make sure you note it well. After you have written down your logins and passwords, click close.
Server Setup:
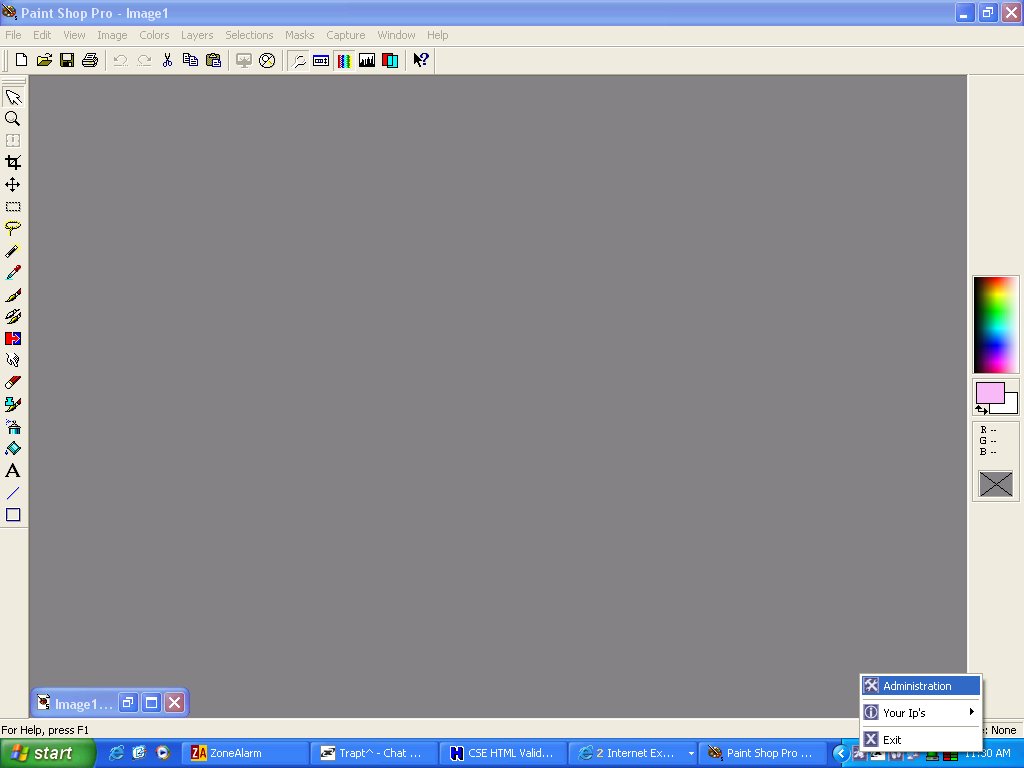
In order to setup a server, right click on the Teamspeak2 Server icon in the bottom right corner of your screen. Click on the administration field. Internet Explorer loads up the Teamspeak2 Server login page. Enter superadmin as your login, and enter your temporary password the program provided.
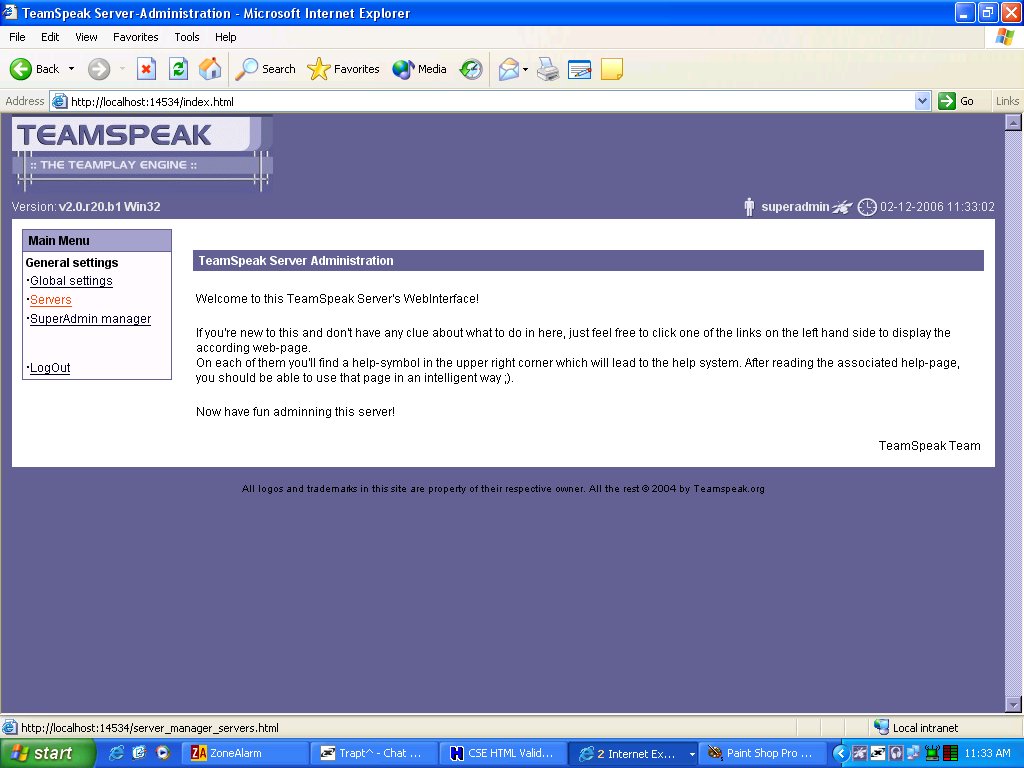
After you have logged in successfully, you will be taken to a new page. If you look on the left side of the screen, you'll see a link named "Servers". Click on this link. Here you will see what servers are running. You can create multiple Teamspeak servers, but for right now we're only creating one. On the server overview page, click on the select button for the default server.
Look again to the left side, and click on the link named "Server settings". Here, you can name your server, set max users, add a password, and choose the UDP port. For now, leave the UDP port set to 8767. If you add another server, you must change and unblock another UDP port. For example, one server can run on port 8767, and the other runs on port 8768.
After you are done, click on save.
The window says the configuration has been saved. Now click on continue. On the left side of the screen near the top, you should click on a link named "Servers". On this page, click on the Stop button. Now, click on the Start button to apply your changes.
You have successfully setup a Teamspeak Server!
If you want to add another server, just click on the add another server button!
Creating User Accounts:
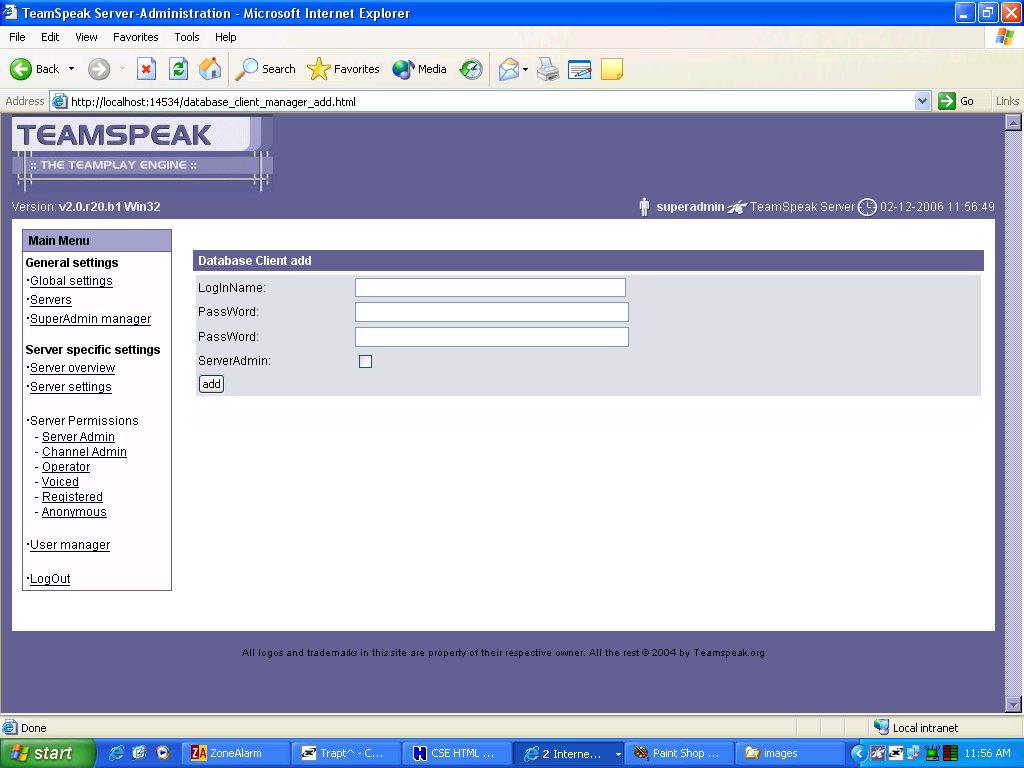
Still on the Server Overview page, click on the select button for the server you want to add a user in. Now look on the left side of your screen, and near the bottom, click on the link named "User Manager". Add a client by clicking on the "Add" button. Next, choose their login name, password, and whether or not they get server admin. Server admin allows the user to ban, moderate, kick, create channels, and more, so be careful of who you give it to. When done, click on add. Choose continue. Congrats! You have added a user to your server.
Final Notes:
If you want to shutdown Teamspeak2 Server, right click on the Teamspeak2 icon at the bottom right of your screen and choose exit.
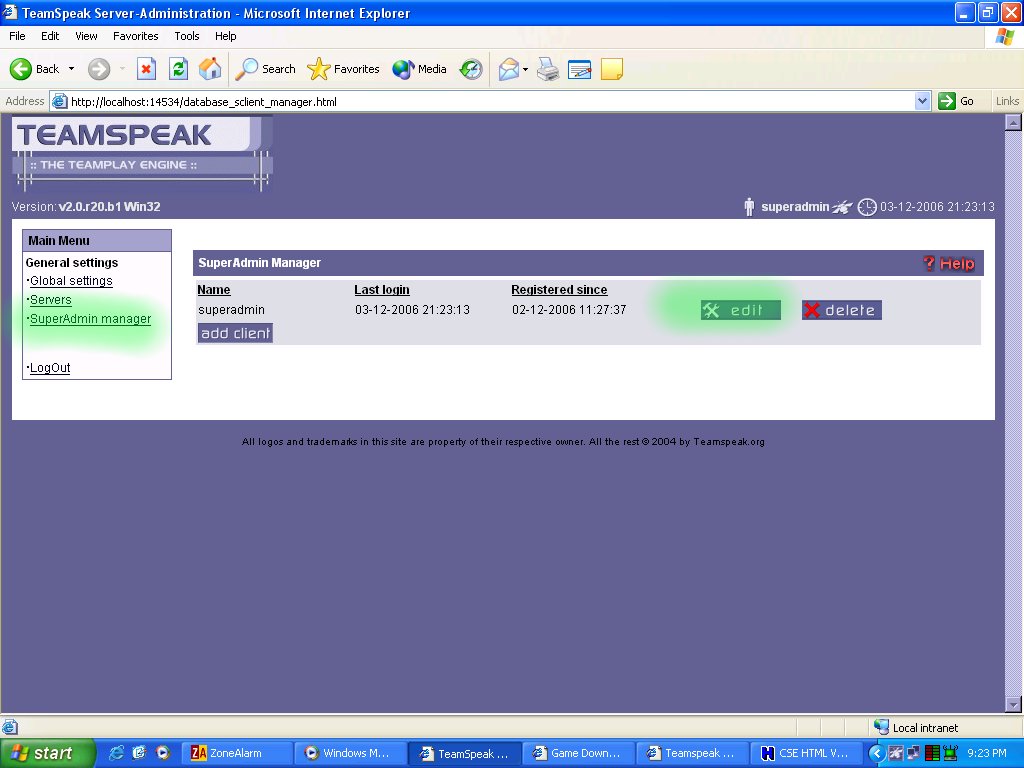
If you wish to change the superadmin's temporary password, once again, right click on the Teamspeak icon and choose "Administration". Login using your temporary password. A new page loads. Look on the left side of the screen, and click on the link named "SuperAdmin manager". Now, look to the right side of your screen. Click on the "Edit" button to the right of superadmin. Insert your desired password in both fields. Choose save. Your password has been changed.
|